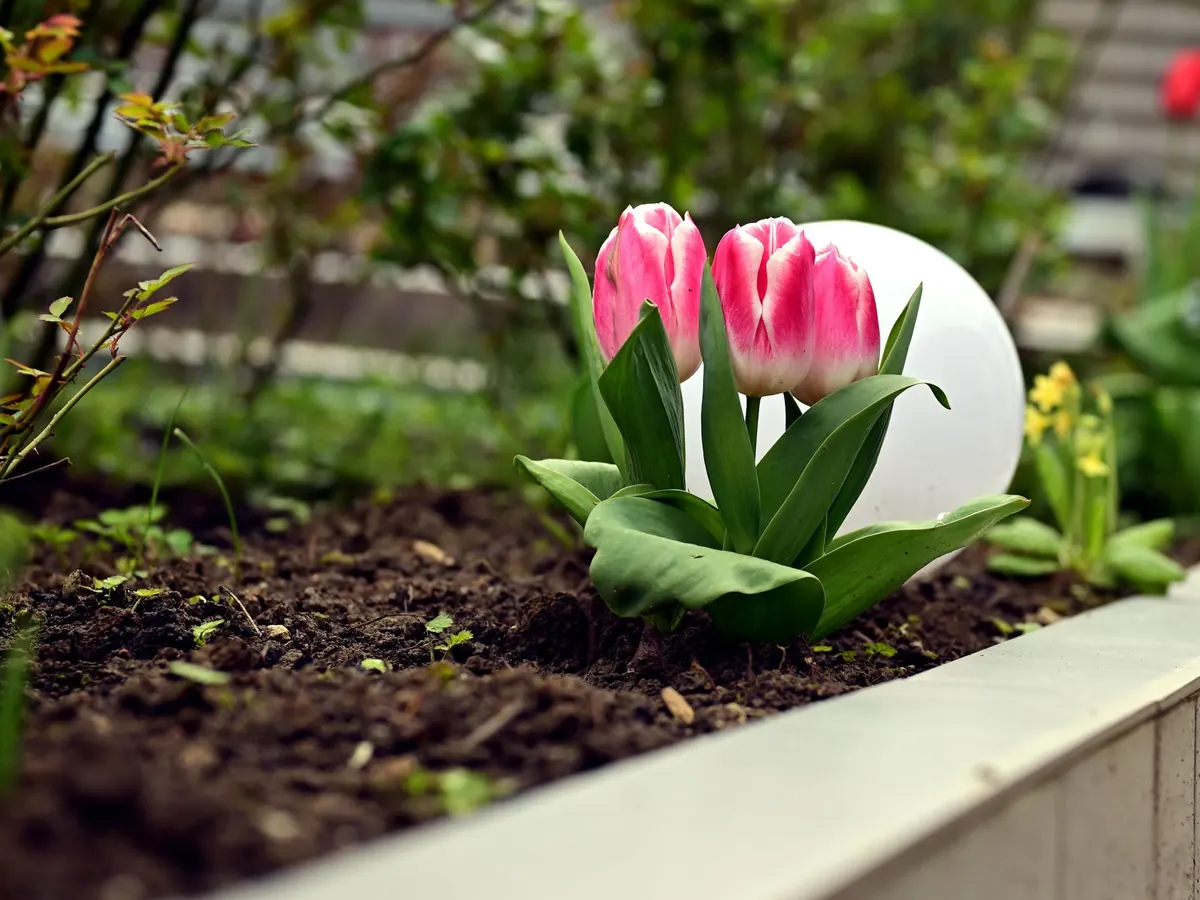
Tulips in a border are a different proposition from tulips in a pot. In a pot you control everything: compost, drainage, water, squirrels. In open ground you work with what the garden already has, and a few checks before the first bulb goes in decide whether you get a fortnight of floppy stems and bare patches, or a spring show worth stopping at the gate for.
This is the checklist worth running through every autumn, in order, before you unwrap the bulbs.
Start with the Soil
Tulips come from places with hot, dry summers and sharp drainage, and they rot in soil that sits wet through winter. That single fact drives most of the preparation.
Dig a hole about 15cm deep where you intend to plant and fill it with water. If it drains away within an hour, you are fine. If it is still there the next morning, you have a drainage problem, and planting tulips into it is throwing money at the slugs.
Improving what you have
For most borders, fork over the top 20–25cm and work in two things: well-rotted organic matter and grit. Compost or leafmould opens up clay and helps sandy soil hold moisture; horticultural grit or sharp sand does the drainage work. On heavy clay, a 5cm layer of grit forked through the planting area is not too much. Avoid fresh manure, which can burn bulbs and encourage rotting.
Tulips do best in neutral to slightly alkaline soil. If yours is very acid and results have been poor, a dressing of garden lime in autumn before planting is worth trying, though it is no cure-all. Where the soil is genuinely bad, plant in a raised bed rather than fighting it.
Plant at the Right Time
The traditional UK window is November into early December. The trigger is soil temperature: tulips want to go in once the ground has cooled, usually from late October in the north and November in the south.
September is too early. Bulbs start into growth before winter, and soft top growth in cold, wet conditions invites tulip fire — a fungal disease that shows as scorched, twisted leaves and spotted flowers. January is late but usually still works; you get shorter stems and flowers a fortnight behind schedule. Frozen or waterlogged ground is the one thing to avoid. Wait for a thaw or a dry spell.
Depth: The Bit Most People Get Wrong
The rule of thumb is two to three times the height of the bulb, measured from the base of the bulb to the soil surface. For a decent border tulip that means a hole roughly 15–20cm deep.
Deeper is generally better than shallower. Deep-planted tulips are steadier in wind, less troubled by slugs and mice, and more likely to come back for a second year. In light, sandy soil you can go deeper still. In heavy clay, stay at the shallower end and rely on grit for drainage.
Set the bulb with the pointed tip upwards and the flat base, where the roots emerge, downwards. If you cannot tell which way up it is, lay it on its side; it will right itself. Firm the soil back with your hands rather than stamping on it, then water to settle the ground around the bulbs. A long-handled bulb planter saves a lot of bending on a large border, and a dibber is quickest of all in loose soil.
Spacing and Layout
Spacing is about the look you want rather than a fixed number.
- 10–15cm apart gives a full, generous block — the classic border display.
- 8–10cm apart suits a tight, bedding-style sweep of solid colour where you plan to lift the bulbs afterwards.
- 20cm or more suits large-flowered varieties, species tulips and anything you want to naturalise.
Whatever the spacing, plant in drifts and loose groups rather than straight lines. Twenty bulbs in an irregular patch read far better than twenty in a row. Lay the bulbs out on the surface first and stand back to check before you dig — two minutes well spent.
Leave room for what comes after, too. Tulip foliage needs light for several weeks after flowering, so do not smother it with dense ground cover. Interplanting with forget-me-nots, wallflowers or violas fills the gaps while the tulips are still short.
Protection from Squirrels, Mice and Slugs
Squirrels are the main offender in most gardens, and they work fast — bulbs can be dug out within days of planting. They follow scent as much as sight, so firming the soil and watering in helps a little.
A physical barrier is the reliable answer. Lay chicken wire or pea netting over the planted area, pinned down at the edges just above soil level, and leave it until shoots are a few centimetres tall in late winter. Mesh also keeps cats off freshly dug soil. Burying a sheet of mesh below the surface as a cage works well in raised beds.
Mulching with grit or sharp gravel over the planting area deters squirrels and slugs and suppresses weeds at the same time. Chilli powder and garlic repellents are widely recommended but need reapplying after rain, and results vary. Slugs and snails go for emerging shoots in spring rather than the bulbs, so watch new growth and use whatever slug control you normally trust.
If you have had tulip fire in a border, do not plant tulips in that spot for a few years. Remove affected leaves and flowers as soon as you see them, and clear away old tulip debris at the end of the season.
A Planting Day Checklist
- Clear weeds and fork over the top 20–25cm of the border.
- Fork in compost and grit, and check drainage if you are unsure.
- Lay the bulbs out in drifts on the surface and check the layout.
- Plant 15–20cm deep, tip up, 10–15cm apart.
- Firm gently and water in.
- Label the planting with variety and colour.
- Cover with netting or mesh and pin it down.
- Mulch with grit or bark.
- Note the position in a diary so you do not spear the bulbs with a fork later.
After Planting
Check the netting after windy nights and lift it once shoots are a few centimetres high. Water only in genuinely dry spells in spring, as tulips dislike being kept wet. Deadhead after flowering so energy returns to the bulb rather than seed, and leave the foliage alone until it yellows, usually about six weeks. If you want the bulbs to flower again next year, a high-potash feed at flowering time helps them bulk up before they go dormant.
Get those checks right and the border does the rest. Come April, you will be glad you spent an afternoon with a fork and a roll of netting.
Photo: Gutjahr Aleksandr / Pexels