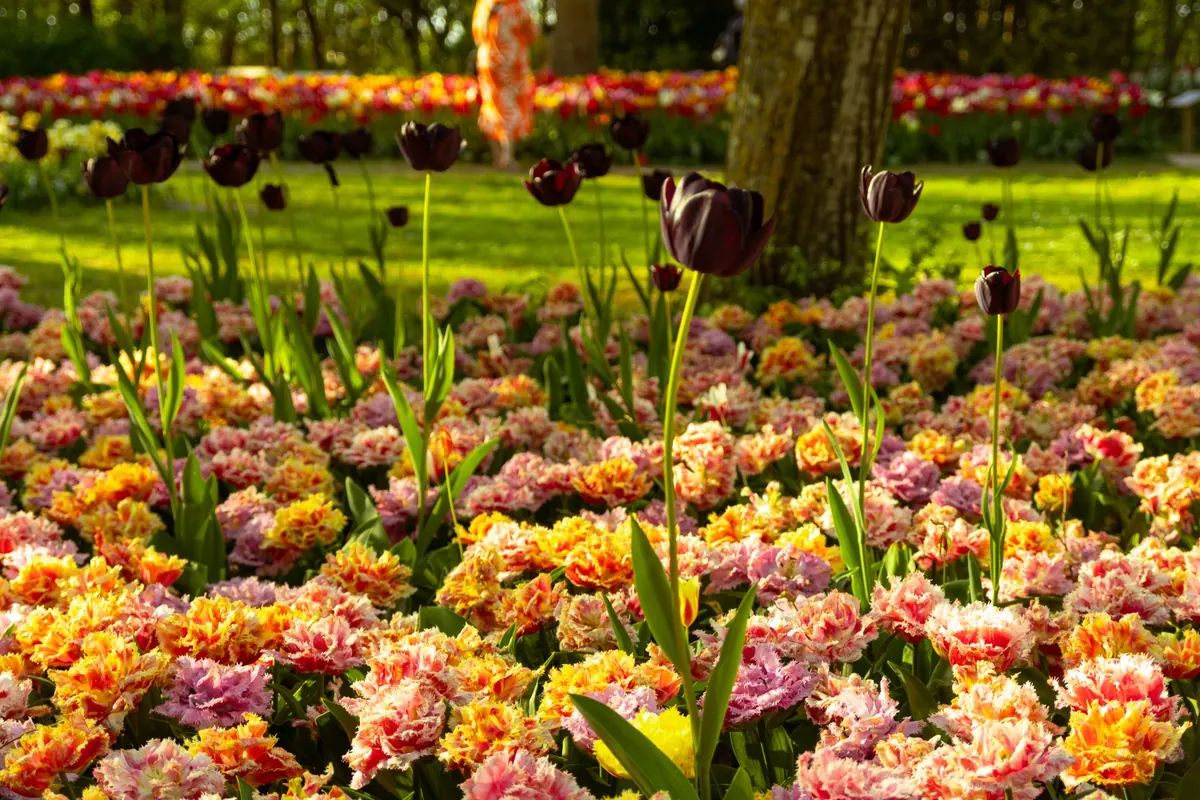
Tulips are built for a dry summer rest. In the baked soils of their native mountains, the bulbs sit through weeks of heat after the leaves die down, and that ripening period is what sets up next spring's flowers. British summers rarely oblige. Warm, wet soil is exactly where rot, slugs and mice do their best work, and a bulb left in cold clay until October is often a bulb you won't see again.
Lifting, drying and storing your bulbs properly is the closest thing to giving them a Mediterranean holiday. It takes an afternoon, and it pays you back with bigger, cleaner flowers the following year.
Do you actually need to lift them?
Not every tulip has to come out of the ground. Species tulips such as Tulipa tarda and Tulipa sprengeri, and some of the sturdier Darwin hybrids in free-draining soil, will settle in and come back for years if they're left alone. The big showy types — parrots, doubles, fringed and most of the tall hybrids — perform far better when lifted.
Bulbs grown in pots should almost always be lifted. Container compost dries out and re-wets unpredictably through summer, and crowded bulbs quickly exhaust what little food there is. Lifting also gives you the chance to sort out soft or damaged bulbs, pull off offsets, and see what you've actually got. If your soil is heavy clay, treat lifting as essential rather than optional.
When to lift
Timing matters more than technique. Wait until the foliage has gone yellow and begun to collapse — usually around six weeks after flowering, which in most of the UK means late June into July. Resist cutting the leaves early. Green foliage is feeding the bulb, and a bulb lifted while the leaves are still green simply hasn't finished storing its energy for next year.
Don't leave it too late either. Once the foliage has disappeared completely you'll be digging blind and spearing bulbs. Mark your clumps in spring while you can still see them, using a short cane or a label pushed in at the edge of the group. Pick a dry day, and if the ground is sodden, wait a few days.
Lifting and cleaning without damage
Use a garden fork rather than a spade. Push it into the soil well clear of the stems — at least 15cm out from the clump — and lever gently upwards so the whole group comes up in one piece.
- Shake off the loose soil by hand. Don't bang bulbs against each other or against the fork; bruises become rot.
- Set aside any bulb that feels soft, smells sour, or has a hole in it. Bin those rather than storing them.
- Snap off the dead foliage close to the bulb and peel away loose papery tunics and old roots. Don't strip a bulb down to bare skin.
- Keep the small offsets, or bulblets. Grown on in a nursery bed they'll flower in two or three years.
Never wash bulbs in water to clean them. Damp is the enemy from this point onwards.
Drying them properly
Spread the bulbs in a single layer in seed trays, shallow cardboard boxes or a trug lined with newspaper. They need somewhere airy, dry and shaded — a garage shelf, a shed with the door propped open on fine days, a cool porch. Keep them out of direct sun and well away from rain.
Leave them for two to three weeks, turning them occasionally. When they're ready, the skins will be dry and papery, the base plate firm and intact, and the bulb will feel solid in your hand. If the weather turns humid, bring them indoors.
If a bulb still feels cool and damp when you pick it up, it isn't ready. Give it another week somewhere airy.
Labelling: the step everyone skips
You will not remember which is which. By November every bulb looks like every other bulb, and a tray of unnamed brown lumps is a wasted season.
Label at lifting, not at planting. Write the variety, colour, height and the year lifted on a paper slip or wooden label and tuck it in with the bulbs. Keep one variety per bag, tray or net, and if you grow in pots, photograph the pot in flower and write the name on a strip of tape stuck to the tray. Even "tall red, front border" beats a blank.
Storage conditions that keep bulbs sound
Bulbs want to be cool, dry, dark, airy and steady. Nothing fancy is required, but a few rules are worth following.
- Temperature: somewhere around 15–20°C suits most tulips. A spare room, an under-stairs cupboard or an unheated garage all work. Avoid hot lofts, conservatories and boiler cupboards.
- Containers: paper bags, mesh nets, or open trays of dry vermiculite or sand. Never seal bulbs in plastic — they sweat, and sweating leads to mould.
- Air movement: open trays beat stacked boxes. Bulbs need to breathe.
- Mice: they will find paper bags. A lidded tin, a wire mesh cage or a net hung from a rafter is safer.
- Keep away from ripening fruit. Fruit gives off ethylene gas as it ripens, which can affect how bulbs develop.
- Check monthly. Tip each tray out, feel the bulbs, and remove anything soft or covered in grey mould. One rotten bulb will spread through a whole tray.
Planting them back out in autumn
Late October to November is the sweet spot in most of the UK: the soil is still warm enough for roots to form, but cool enough that rot is less of a risk. Plant each bulb two to three times its own depth, pointed end up, and space them roughly twice their width apart.
On heavy soil, fork in grit or plant into pots of fresh, free-draining compost instead. Water once after planting and then leave them to the winter cold — tulips need a proper cold spell to flower well. The tiny offsets can go into a nursery bed or a spare pot, planted a little deeper than you'd think and left undisturbed for a couple of years.
Get the summer storage right and next spring's display is already half made.
Photo: Marjonhorn / Pixabay